How to Prevent and Treat Blisters on the Trail
Blisters are caused by friction — the shearing force between skin and sock or shoe that separates skin layers and allows fluid to accumulate between them. You reduce blisters by reducing friction, and you treat blisters by protecting the affected area from further friction.
Prevention: Fit, Socks, and Hotspot Response
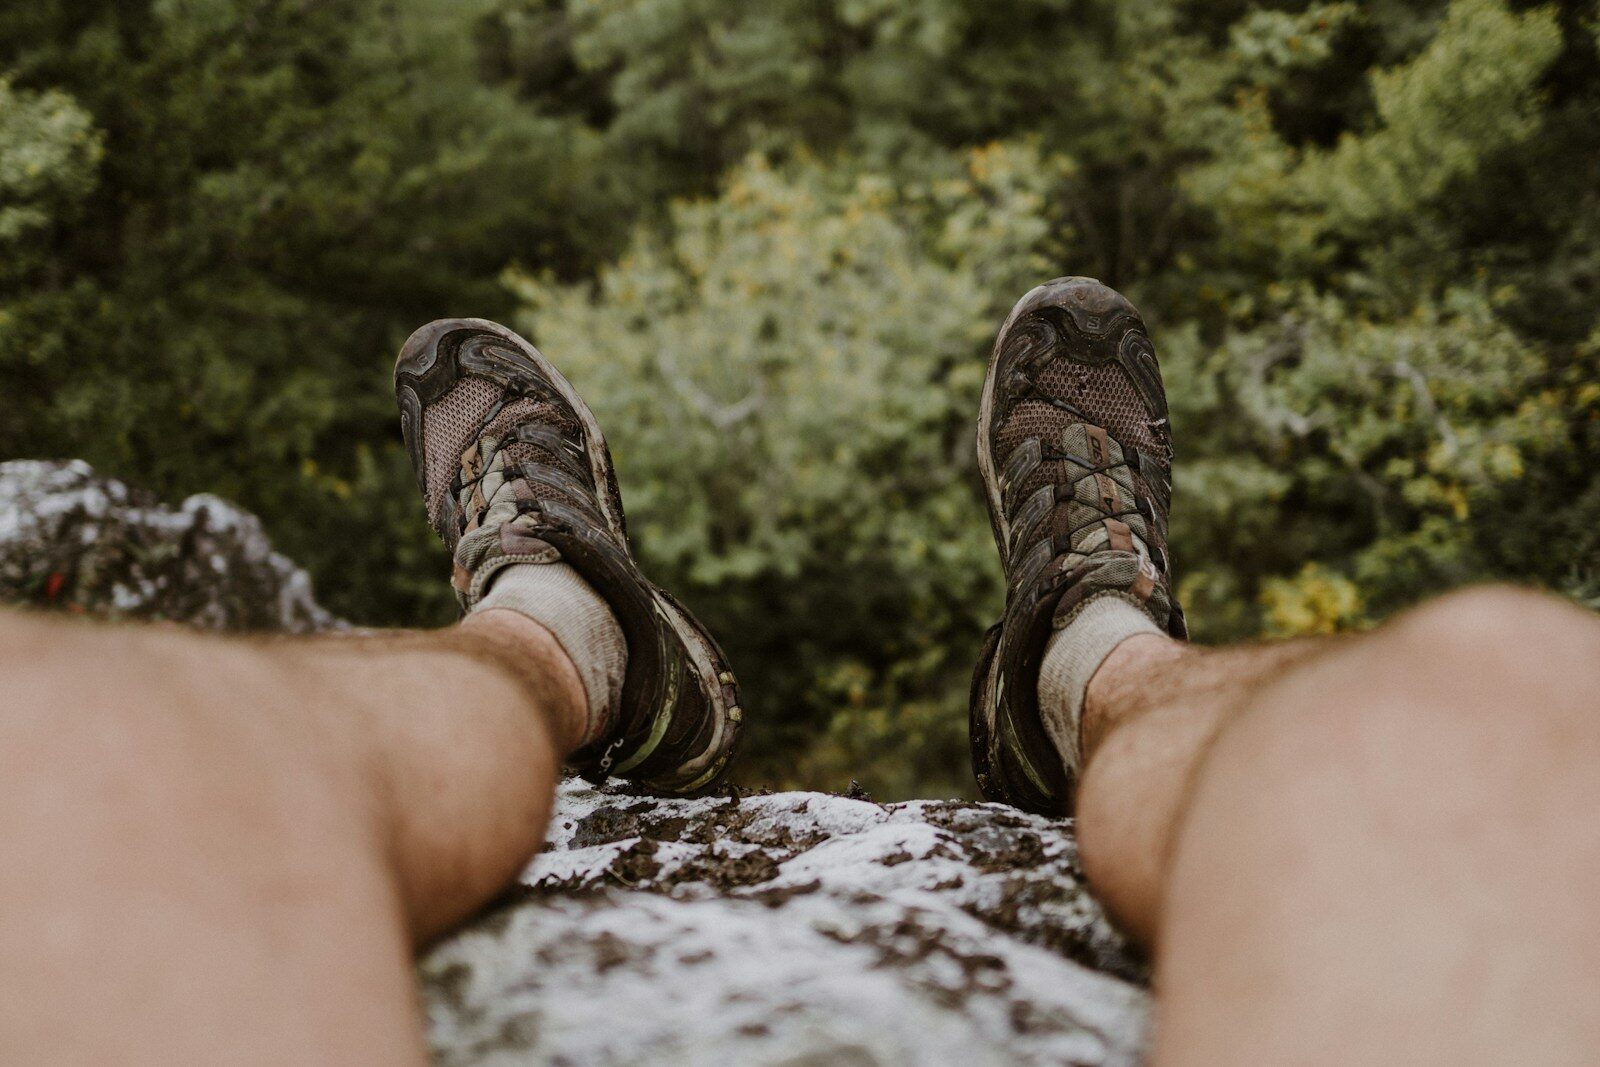
Properly fitting footwear that doesn’t allow heel lift or toe-box friction is the primary prevention. Moisture-wicking wool or synthetic hiking socks — not cotton — reduce the moisture that softens skin and increases friction vulnerability. The most important behavioral prevention: stop and address a hot spot the moment you feel it. Apply moleskin, athletic tape, or Body Glide immediately. If you wait until the blister forms, you’ve added pain management to your task list for the rest of the hike.
Treating Blisters on Trail
A small intact blister not under significant pressure can sometimes be left intact. A blister that is large, under pressure, or in a location making continued hiking painful should be drained with a sterilized needle, pressed flat, and protected with moleskin cut in a donut shape around rather than over the blister. Keep it clean and watch for infection signs — increasing redness spreading beyond the blister perimeter, warmth, or discharge. An infected blister in a remote location is the blister mismanagement outcome that becomes a serious problem requiring evacuation.